Project Overview
Set start and due dates for a project
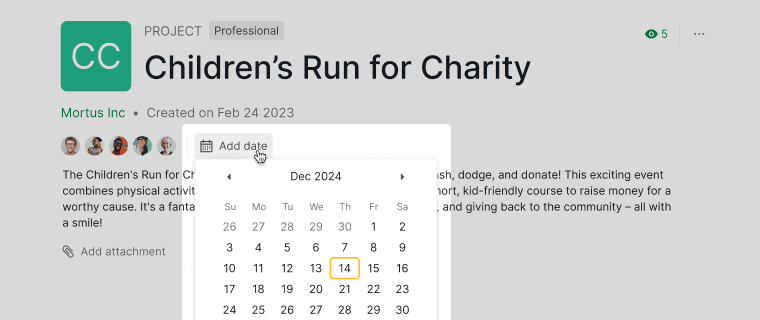
To set start and finish dates for your project, navigate to the Overview page. Click Add date and select the desired date for your project. Toggle on Set start date to choose a start date.
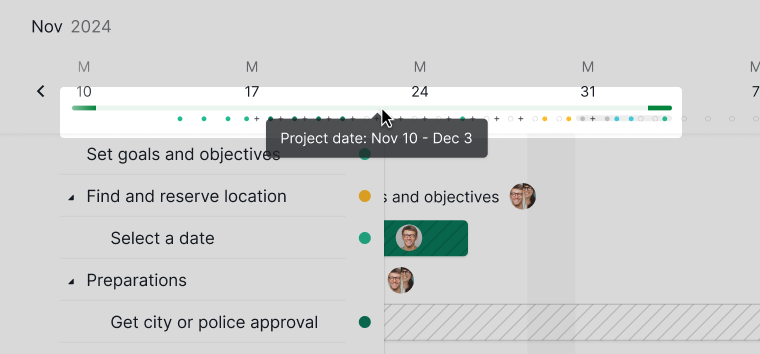
Once added, these dates will be reflected in the Timeline view of your project.
Tip: You can use embed formulas in the project description to perform further calculations based on the dates you have set for your project. For example, to calculate the total duration of your project, you can embed a formula like this in the project or task description: project.due - project.start.
Track your project’s progress
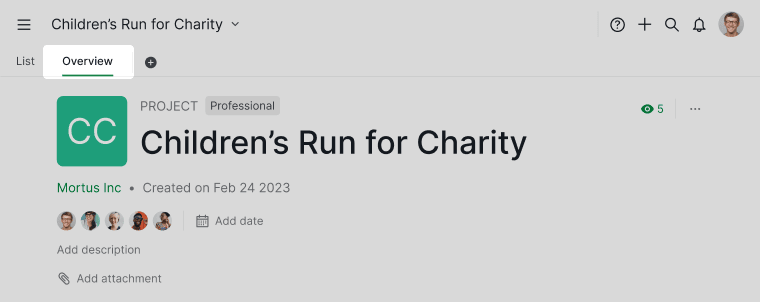
You can see the performance of your projects on their Overview page. Click on the Overview tab at the top.
You can see the number of tasks in progress, and the percentage of tasks being completed in a project.
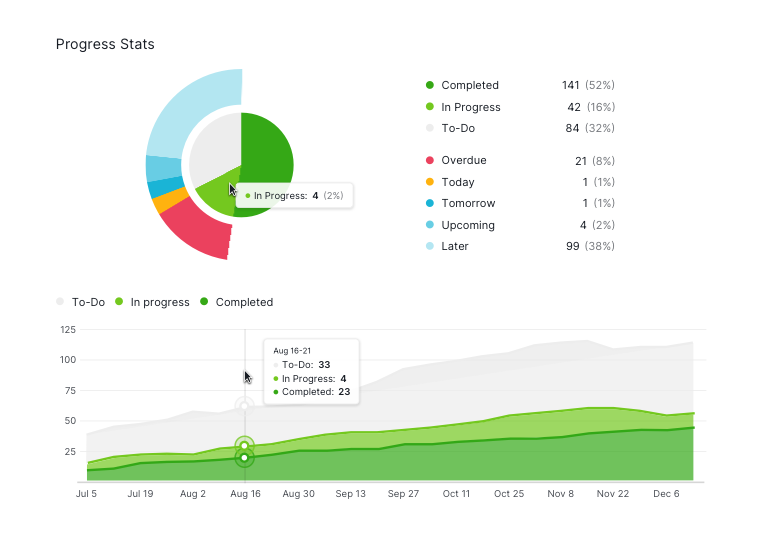
Tip: The default time range for the progress stats is 6 months, you can narrow down the time range by selecting a range on the progress stats chart allowing it to zoom in. Click on Reset zoom to go back to the default settings.

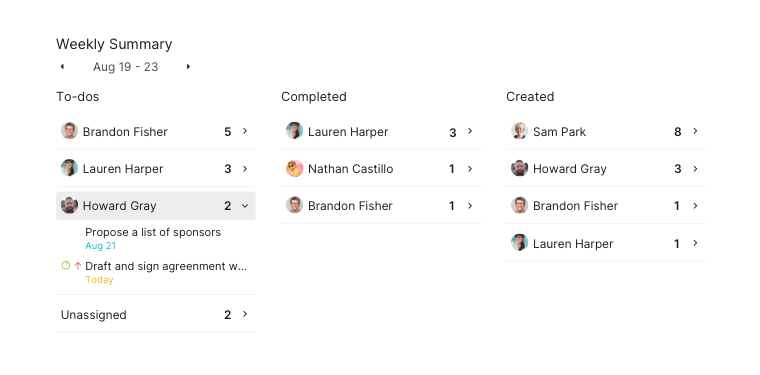
Here you will also be able to see the weekly summary for the project.
Project activity log
You can see what has been done to a project in its activity log. Click on the Overview tab at the top and scroll to the bottom and click on Recent Activities.
You will see a record of the past actions done to the project.

