Set Task Dates & Recurring Tasks in Quire Permalink
Recurring tasks automate repeated work so it does not need to be re-created manually each cycle. Setting start and due dates on tasks keeps your team aligned on deadlines and makes it easier to catch scheduling conflicts early. In Quire, you can set a task to repeat on any schedule and visualize upcoming work in Timeline or Calendar views.
Set Dates & Times
Due Date
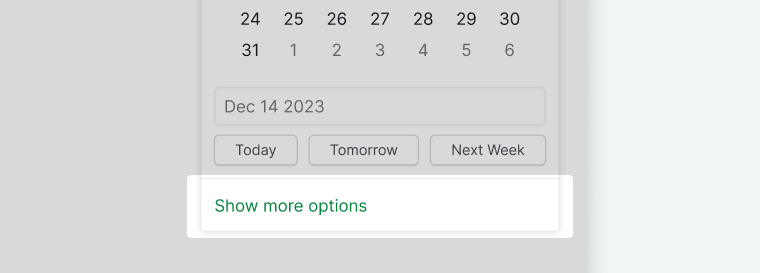
- Click the date icon to assign a due date, or press < when the task is selected.

- Then click Today, Tomorrow, or Next Week to quickly add a date.


Tip: Type < while editing a task to assign a due date inline.
Start Date
Setting start date is only available in the Professional, Premium, Enterprise plans. More information can be found on our pricing page.
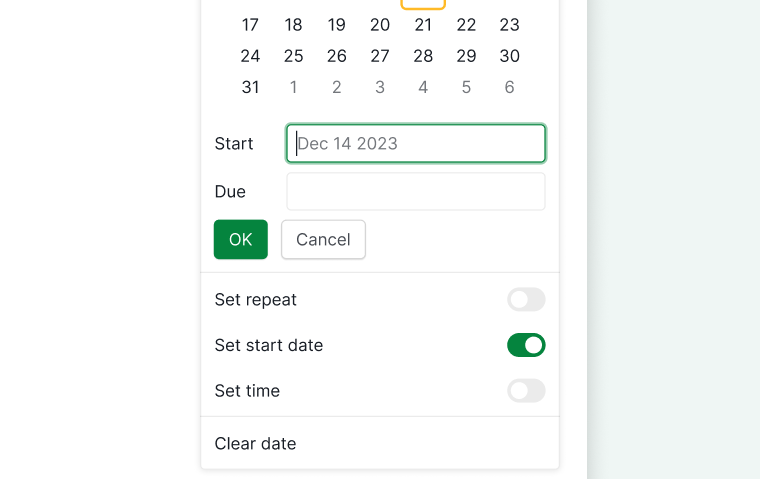
- Click the date icon, then Show more options.
- Toggle Set start date and select or type your start date.


Removing a Date
- Click the date icon to open the date picker menu.
- Click Clear date.


Task Time
Setting start time is only available in the Professional, Premium, Enterprise plans. More information can be found on our pricing page.
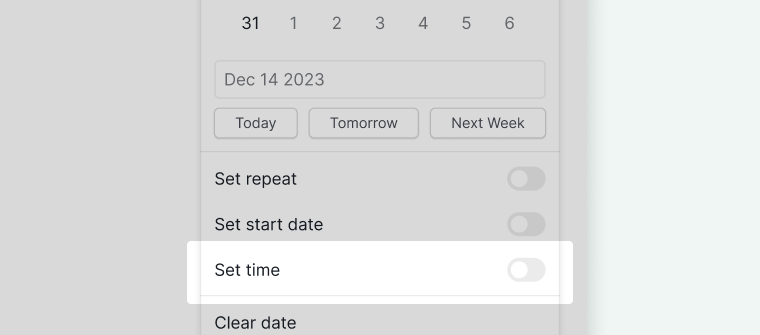
- Click the date icon to open the date picker menu.
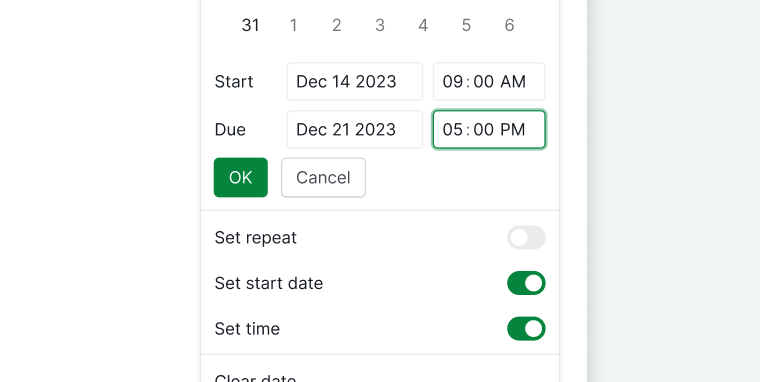
- Click Show more options, toggle Set time, and choose the hour and minute.
- Use arrow keys to select the time or type manually.


Note: Tasks with start and due dates can show durations when synced with Google Calendar or other apps.
Tip: Enable 24-hour time in Account Settings.
Recurring Tasks
Recurring tasks automatically regenerate on a set schedule after completion, so teams don’t need to manually recreate repeated work each cycle. Common use cases include weekly standups, monthly reports, and daily checklists.
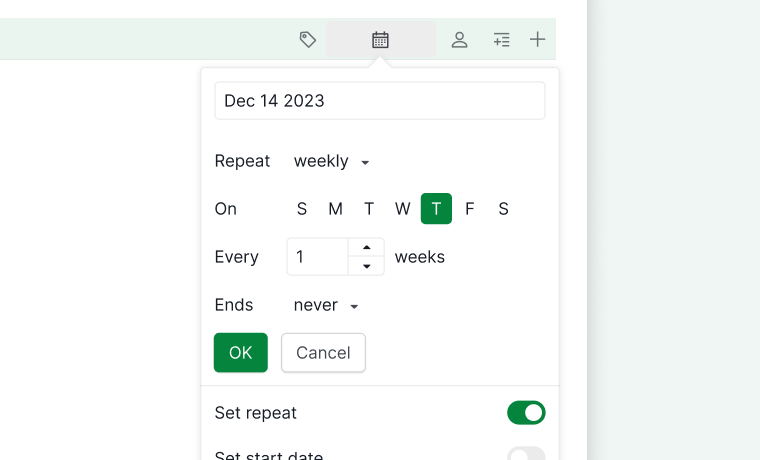
Repeat Settings
Setting tasks to repeat daily, monthly, or yearly is only available in the Professional, Premium, Enterprise plans. More information can be found on our pricing page.
- Click the date icon, toggle Set to repeat.

- Then choose frequency and day.


Since Latest Completion
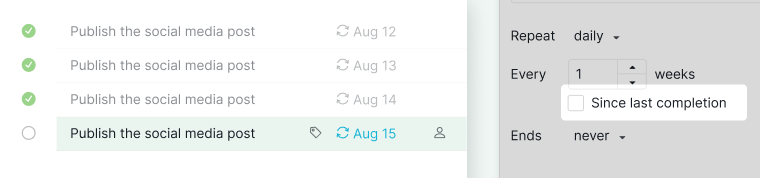
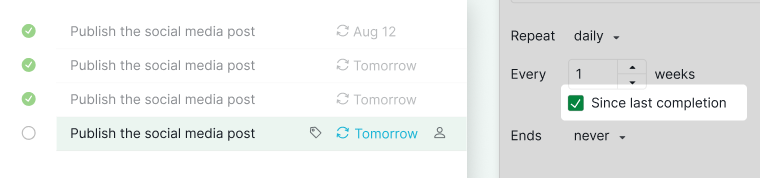
For daily tasks, choose Since latest completion to base the next due date on the completion of the previous task.

Here’s an example: Set the task to repeat every 1 day.
-
Default setting (Since latest completion not selected): When the task is completed today, the next task’s due date will be tomorrow. If the new task is completed again the following day, the next generated task’s due date will be two days later.
-
Option selected (Since latest completion enabled): When the task is completed today, the first new task’s due date will be tomorrow. If the new task is completed again on the same day, the next task’s due date will still be tomorrow.


Subtask Recurrence
If a parent task is recurring, its subtasks will recur automatically unless disabled in the date picker.

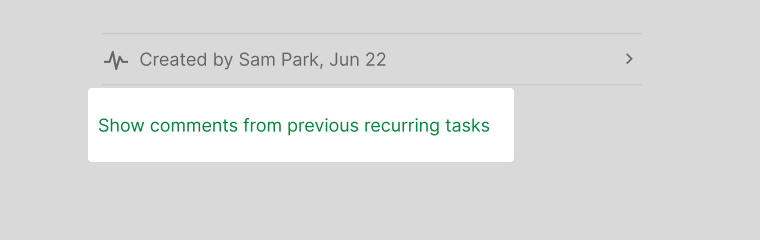
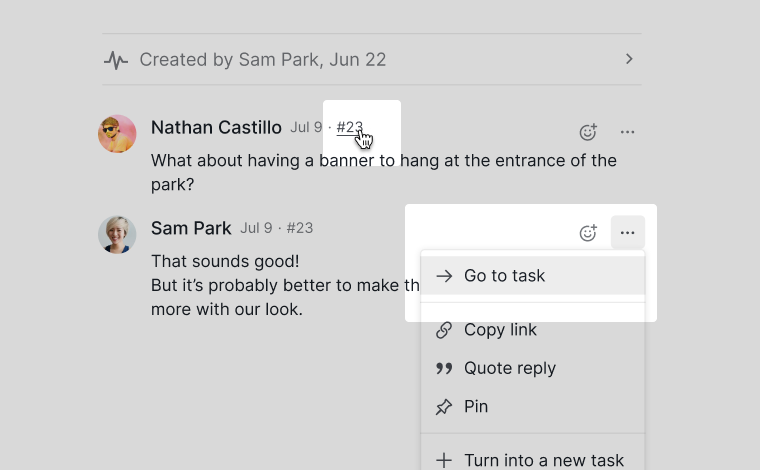
Comment History
Newly generated recurring tasks start without previous comments.
- Click the option in the detail panel to view past comments.
- Or navigate directly via task ID or Go to task in the More Options dropdown.


Read more on our blog about setting recurring tasks.
Frequently Asked Questions
What are task dates in Quire?
Due dates are available on all plans. Start dates, task times, and recurring tasks require Professional, Premium, or Enterprise. Tasks with dates can be visualized in Timeline and Calendar views.
What is the due date feature in Quire?
Click the date icon or press < to assign a deadline. Quick options — Today, Tomorrow, Next Week — are available for fast assignment.
What is the start date feature in Quire?
Click date icon > Show more options > toggle Set start date. Available on Professional, Premium, and Enterprise plans.
What is task time in Quire?
Click date icon > Show more options > toggle Set time to assign a specific hour and minute. Available on Professional, Premium, and Enterprise. Enable 24-hour format in Account Settings.
What are recurring tasks and when should teams use them?
Recurring tasks are tasks that automatically regenerate on a set schedule after being completed, so repeated work does not need to be recreated manually each cycle. They are useful for anything that happens on a predictable cadence: weekly standups, monthly reports, quarterly reviews, or daily checklists. Using recurring tasks reduces the risk of forgetting routine work and keeps it consistently visible in the project. In Quire, you can set a task to repeat daily, weekly, monthly, or yearly, and choose whether subtasks should recur as well. Recurring tasks require a Professional, Premium, or Enterprise plan.
What is the Since Latest Completion recurring task option in Quire?
Bases the next due date on when the previous task was actually completed, rather than a fixed schedule. Useful when task timing depends on real completion rather than a rigid calendar.
What happens to subtasks when a recurring task is generated in Quire?
Subtasks recur automatically by default. Disable this in the date picker if you don’t want subtasks carried over.
Can I see comments from a previous recurring task cycle in Quire?
Yes. New recurring tasks start without previous comments. Click the option in the detail panel, or navigate via task ID or Go to task in More Options to view past comments.