Folders in Quire Permalink
Folders help you organize and categorize projects within an organization. They’re especially useful when you’re managing many projects and want related work grouped together.
A folder can contain one or multiple projects, with no limit on how many projects you add.
Folders also support cross-project views, letting you see and manage tasks from all projects in one place using Panorama, Board, Table, Timeline, Calendar, or Time Tracking.
Tip: Creating folders is optional, but highly recommended when managing multiple projects.

Learn more about Quire’s hierarchy.
Create and Manage Folders
Creating a Folder
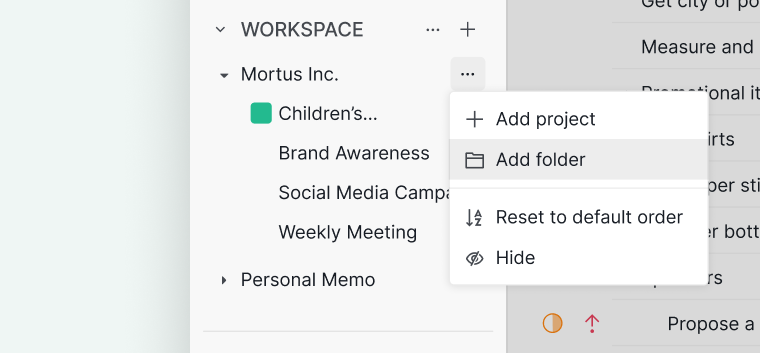
From the sidebar:
- Hover over an organization in the sidebar.
- Click the More options icon.
- Select Add folder.
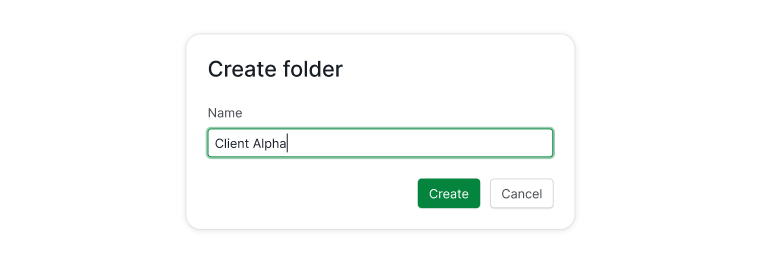
- Enter a folder name and click Create.


From Organization Overview:
- Go to the Organization Overview.
- Scroll down to the folders section.
- Click + Add folder.
- Enter a name to create the folder.
After creating a folder, you can drag and drop projects into it from the sidebar.

Note: All folders are visible to all members within the organization.
Editing a Folder
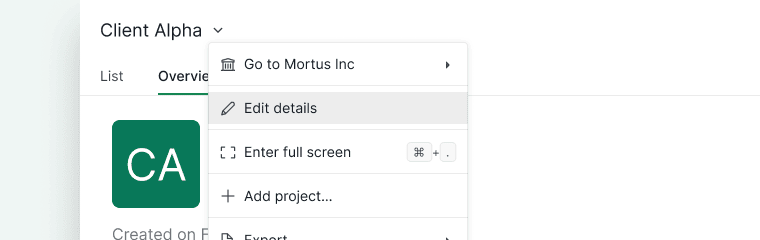
- Click the folder in the sidebar.
- Click the dropdown arrow next to the folder name.
-
Select Edit details.

You can:
- Rename the folder
- Add a description for team context
- Change the folder color
-
Customize the folder icon

You can also choose whether the folder icon appears in:
- The sidebar
- The workspace header
Deleting a Folder
- Open the folder.
- Click the dropdown arrow next to the folder name.
-
Select Delete.
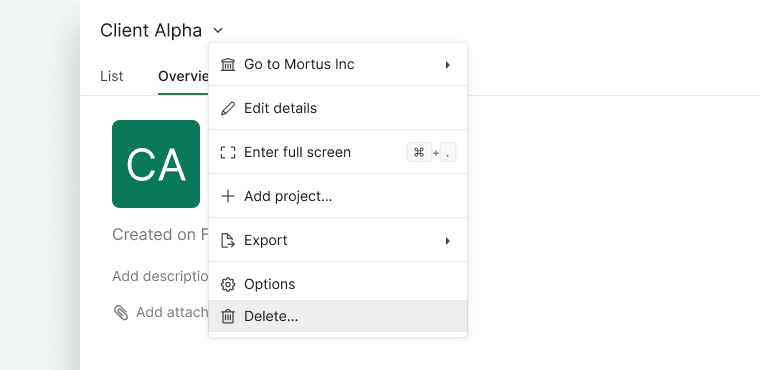

Note: Deleting a folder does not delete the projects inside it.
View Tasks Across Folder Projects
Panorama View
The Panorama view for Folders is only available in the Professional, Premium, Enterprise plans. More information can be found on our pricing page.
To open Panorama view:
- Select a folder from the sidebar.
-
Click the List tab.
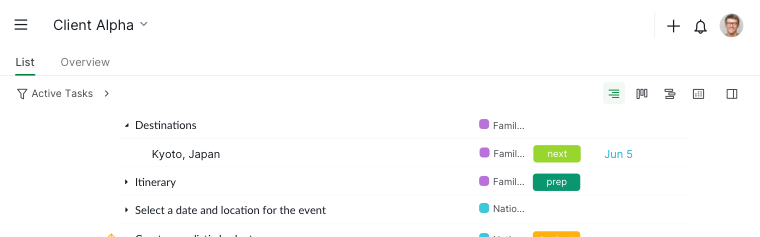

Once in the List tab, you can switch between views using the view selector:
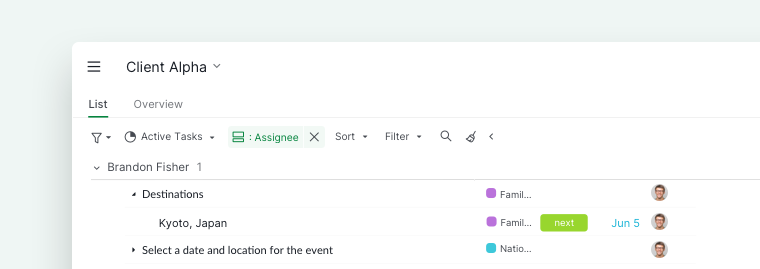
You can use the filter bar to:
- Filter tasks by status, date, or assignee
- Group tasks by date or assignee
-
Focus on today’s work or upcoming team tasks

Add Content to Folders
Creating a Sublist
Creating sublists for Folders is only available in the Professional, Premium, Enterprise plans. More information can be found on our pricing page.
To create a sublist:
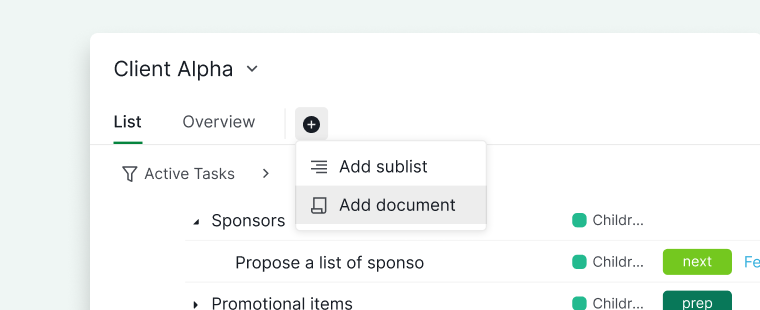
- Click the + icon under the folder name.
- Select Add sublist.
- Name the sublist and choose an icon.
- Set access permissions.
Tip: Press L to create a sublist instantly.

Creating a Document
To create a document in a folder:
- Click the + icon under the folder name.
- Select Add document.
- Enter a document name and choose an icon.
-
Set access permissions.

Creating an Insight
Creating insights for Folders is only available in the Professional, Premium, Enterprise plans. More information can be found on our pricing page.
To create an insight in a folder:
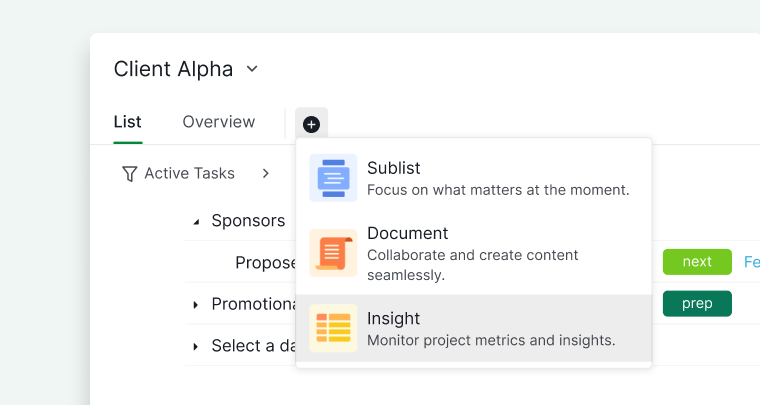
- Click the + icon under the folder name.
- Select Add insight.
- Enter an insight name and choose an icon.
-
Set access permissions.

Folders are one of several sidebar sections you can set up early. See Setting Up Your Workspace for the others.
Frequently Asked Questions
How do I create a folder in Quire?
Hover over an organization in the sidebar, click the More options icon, and select Add folder. You can also go to Organization Overview, scroll to the folders section, and click + Add folder. After creating a folder, drag projects into it from the sidebar.
Are Quire folders visible to all organization members?
Yes. All folders are visible to all members within the organization.
How do I rename or edit a Quire folder?
Click the folder in the sidebar, click the dropdown arrow next to the folder name, and select Edit details. You can rename the folder, add a description, change the color, and customize the icon.
How do I delete a folder in Quire?
Open the folder, click the dropdown arrow next to the folder name, and select Delete. Deleting a folder does not delete the projects inside it.
What is Panorama view in a Quire folder?
Panorama view shows all tasks from every project inside a folder in one unified list. Click the folder in the sidebar, then click the List tab to open it. Requires a Professional, Premium, or Enterprise plan.
What views are available in Quire folders?
From the List tab in a folder, you can switch between Board View, Table View, Timeline View, Calendar View, and Time Tracking. Each view shows tasks from all projects inside the folder in a different layout.
How do I create a sublist in a Quire folder?
Click the + icon under the folder name, select Add sublist, name it, choose an icon, and set access permissions. Press L to create one instantly. Requires a Professional, Premium, or Enterprise plan.
How do I create a document in a Quire folder?
Click the + icon under the folder name, select Add document, enter a name, choose an icon, and set access permissions.
How do I create an insight in a Quire folder?
Click the + icon under the folder name, select Add insight, enter an insight name, choose an icon, and set access permissions. Requires a Professional, Premium, or Enterprise plan.