Sublist Permissions in Quire Permalink
Sublist permissions in Quire let you control who can see and access specific task views within a project. You can share a sublist with all project members, admins only, selected members, an external team, or keep it private. This works alongside the broader permission roles that govern access at the organization, project, and external team level.
Learn how to create a sublist before adjusting permissions.
Share a Sublist with Project Members
When creating a sublist, you can make it visible to everyone in the project (excluding external teams).
- Create a new sublist.
- Under Share with, select Any members.
- Save the sublist.
All project members will be able to view the sublist.

Share a Sublist with Project Admins
You can restrict a sublist so that only project admins can see it.
- Create a new sublist.
- Under Share with, choose Admins only.
- Save the sublist.
Only project admins will have access to this sublist.

Share a Sublist with Selected Members
If you want only certain people to access a sublist, you can share it with selected members.
- Create a new sublist.
- Under Share with, select Selected members.
- Choose the members you want to grant access to.
- Save the sublist.
Only the selected members will be able to view the sublist.

Share a Sublist with an External Team
You can share a sublist with an external team to collaborate without exposing the entire project.
- Create a new sublist.
- Under Share with, select one of the available external teams.
- Add tasks that are already assigned to that external team.
- Save the sublist.
Note: All tasks added will automatically be assigned to that external team.

Create a Private Sublist
A private sublist is visible only to you, even if the link is shared.
- Create a new sublist.
- Under Share with, select Selected members.
- Do not select any members.
- Save the sublist.
The sublist will remain accessible only to you.

Share a Sublist via a Public Link
You can share a single sublist with external users (no Quire account required) using a shareable link.
Sharing a sublist with non-signed-up users is only available in the Premium and Enterprise plans. More information can be found on our pricing page.
- Click the dropdown menu icon next to your project name.
- Select Share from More.
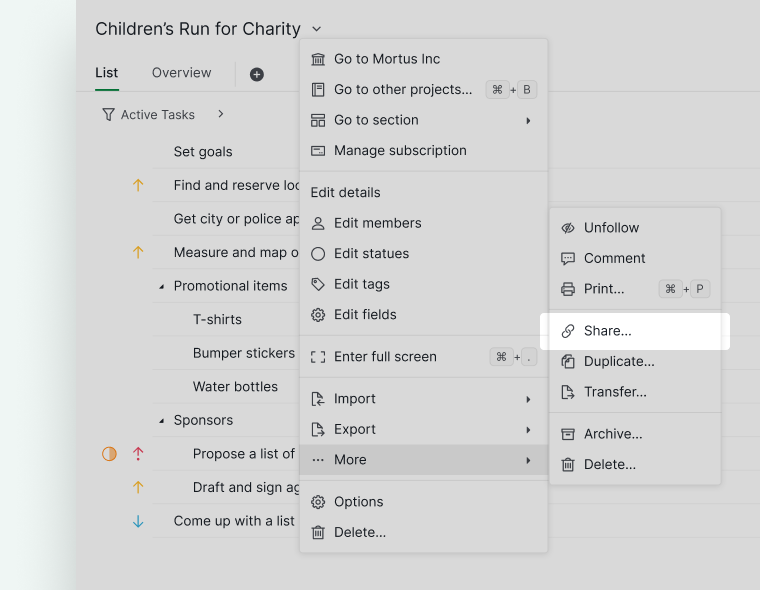
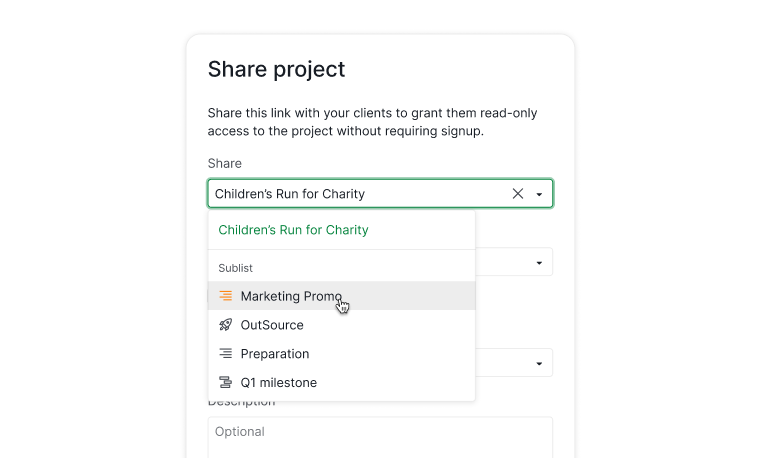
- In the Share menu:
- Choose a specific sublist.
- Select the view type (Tree, Board, Table, Timeline, etc).
- Set an expiry date.
- Add an optional description.
- Copy the generated link and send it to your clients.
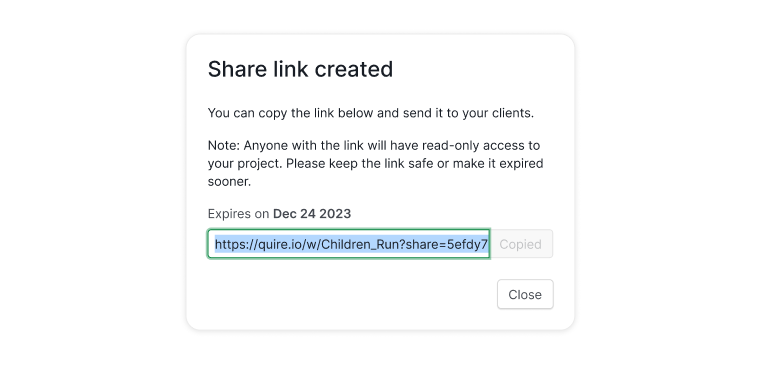


Note: Anyone with the link can view the shared sublist until the link expires.
Frequently Asked Questions
How do I control who can see a sublist in Quire?
Set Share with when creating a sublist: Any members, Admins only, Selected members, a specific External team, or Private (no members selected). Permissions can only be configured at creation time.
Do external team members get access when I share a sublist with “Any members” in Quire?
No. External team members are not included in the “Any members” option.
Can regular project members see an admin-only sublist in Quire?
No. Only project admins can see and access it.
How do I share a sublist with only specific people in Quire?
Set Share with to Selected members when creating the sublist, then choose the individual members to grant access.
What happens to tasks when I add them to an external team sublist in Quire?
All tasks added to the sublist are automatically assigned to that external team.
Can someone access a private sublist if I share the link with them in Quire?
No. A private sublist (Selected members with no one selected) is visible only to you, even if the link is shared.
How do I share a sublist with clients who don’t have a Quire account?
Open the project dropdown, select Share from More, choose a sublist and view type, set an expiry date, and copy the link. Requires Premium or Enterprise plan.