Customize Calendar View in Quire Permalink
Quire allows you to customize the Calendar view so you can visualize tasks more clearly, navigate dates faster, and adjust calendar settings to match your workflow.
Color Coding Options
You can customize the Calendar view by applying different color-coding rules. By default, tasks are colored by date when you first switch to Calendar view.
To change color-coding options:
- Switch to Calendar view.
- Click the Calendar icon in the upper-right corner.
- Choose a color rule:
- Project
- Priority
- Tag
- Date
- Status
- Sublist
Note: In My Tasks or Smart Folders, tasks can only be colored by Project.
Tip: Press 5 on your keyboard to switch to the Calendar view. Press 5 again to access the dropdown menu for additional options, then use the number keys or arrow keys to navigate through the different options.
Navigating the Calendar View
Quire provides several ways to navigate dates and time ranges efficiently.
How do I jump to today’s date?
Click the Today button in the upper-right corner.
How do I go to a specific date range?
- Click Go to date below the filter bar.
- Select the date you want to view.
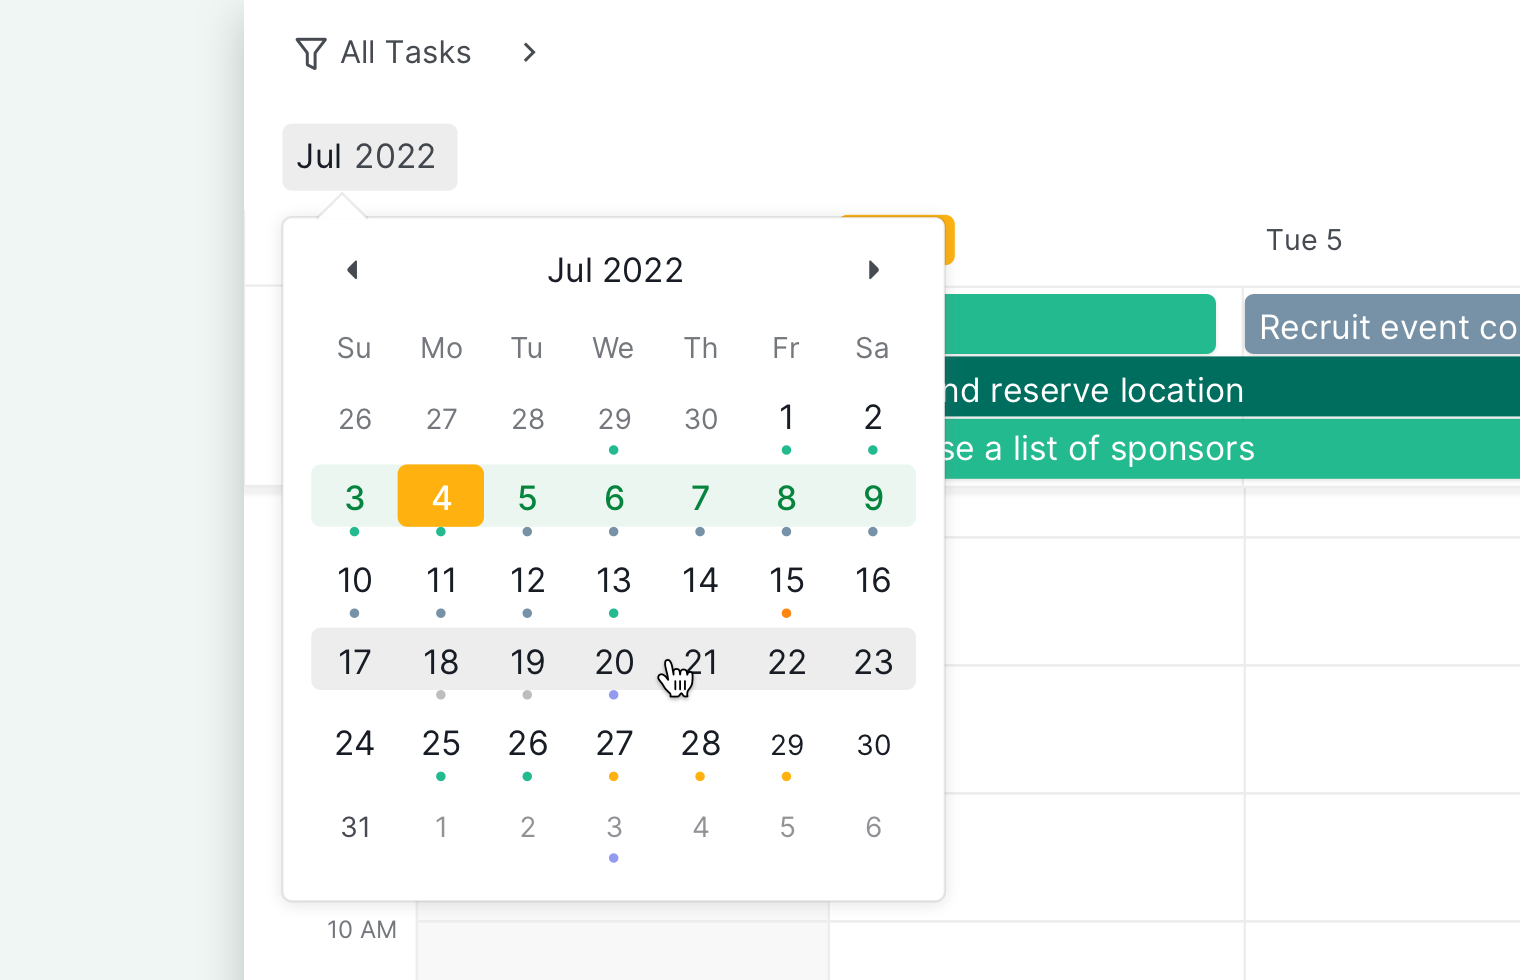
How do I show or hide weekends?
- Click the view option next to Today.
- Toggle Show weekends on or off.
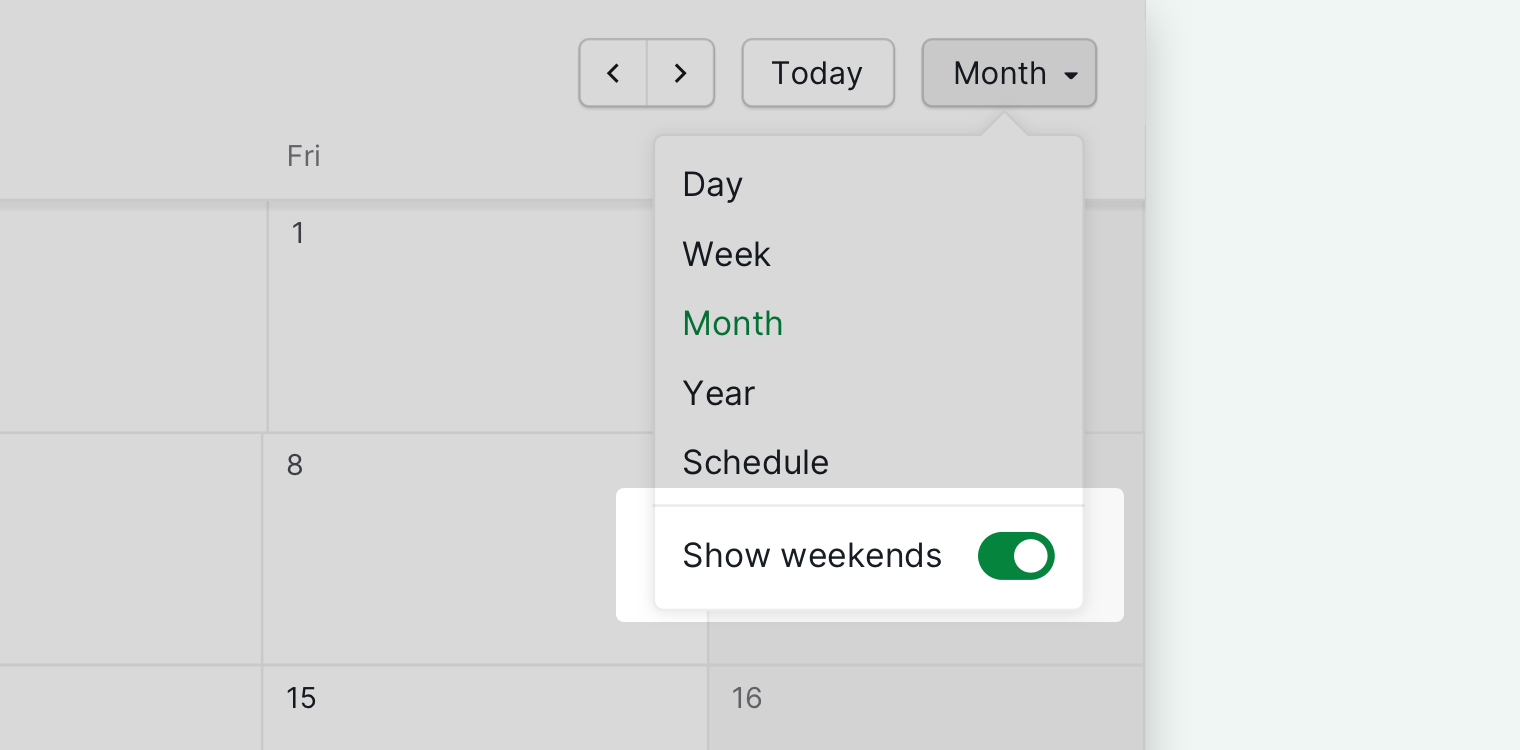
Calendar Display Settings
How do I show or hide week numbers?
Week numbers are controlled in Account Settings.
- Go to Account Settings.
- Open the Basic section.
- Enable or disable Show week numbers.
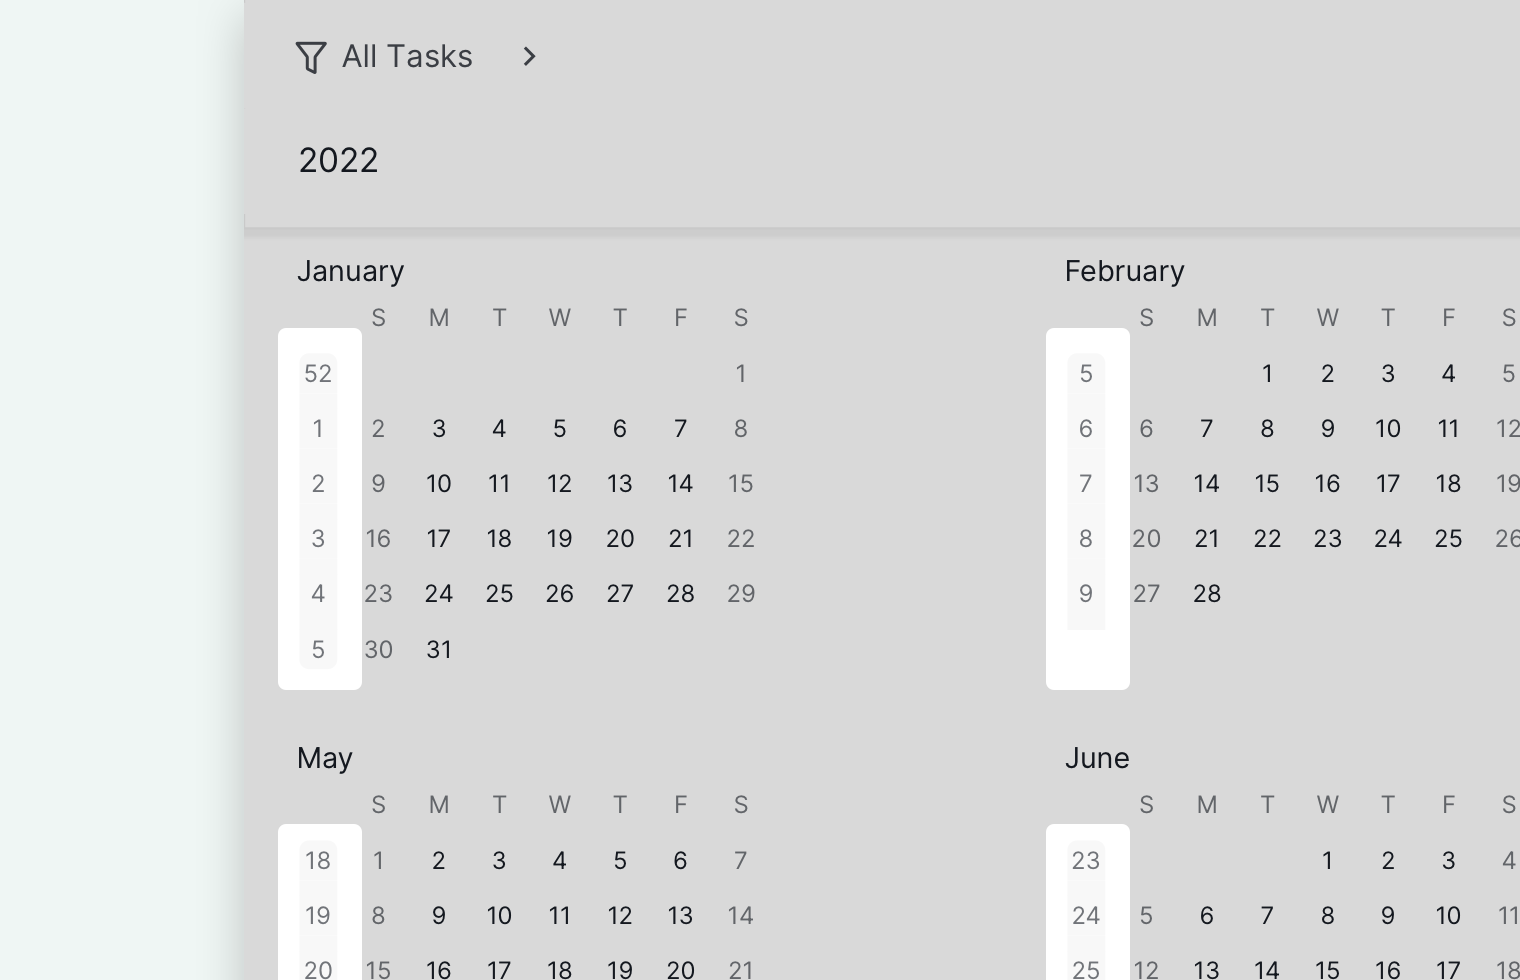
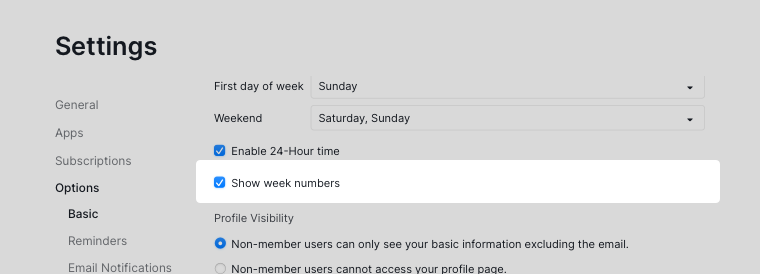
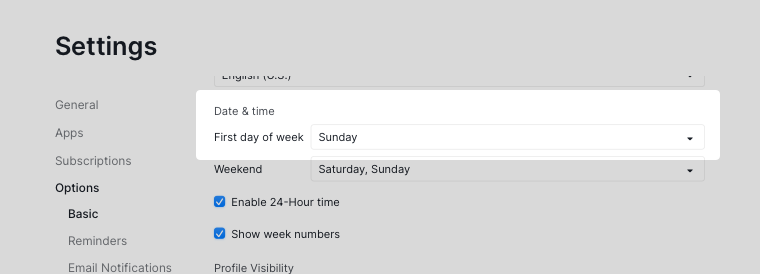
How do I change the first day of the week?
- Open Account Settings.
- Go to the Basic section.
- Select your preferred first day of the week.
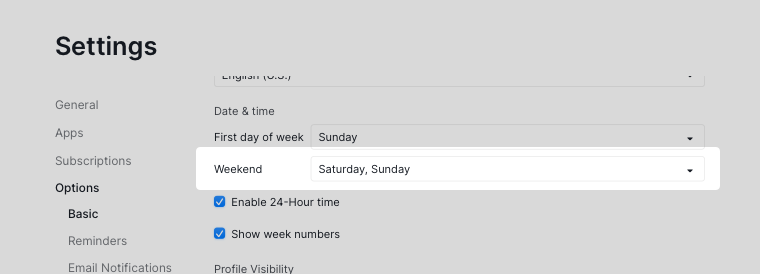
How do I change which days are considered weekends?
- Open Account Settings.
- Go to the Basic section.
- Select your preferred weekend days.
Keyboard & Detail Navigation
What keyboard shortcuts work in the Calendar view?
The Calendar view supports keyboard navigation for faster task management:
- Use arrow keys to move between tasks
- Press Space to open the task detail panel
- Press D to quickly add a task description
How do I see more task details in the Calendar view?
You can display additional task information by enabling Advanced mode.
- Toggle on Advanced mode.
- View extra details such as:
- Status
- Priority
- Assignees
- Tags
- Subtask count
