Edit a Project in Quire Permalink
Editing a project in Quire allows you to customize key project details so your team can clearly understand the project’s purpose, timeline, and context. You can update the project name, icon, dates, description, and URL at any time.
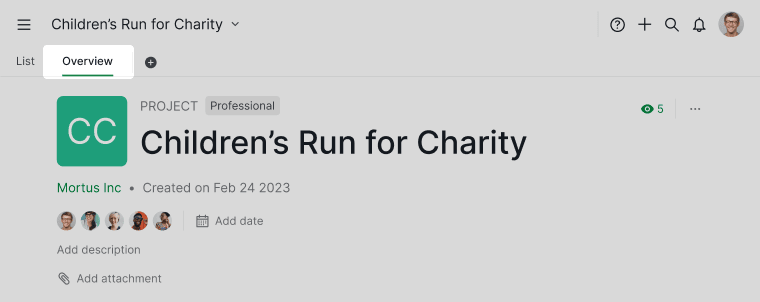
Project descriptions appear in the Overview tab and are visible to all project members.
Note: You must be project admin to edit project settings.
Project Appearance and Basic Settings
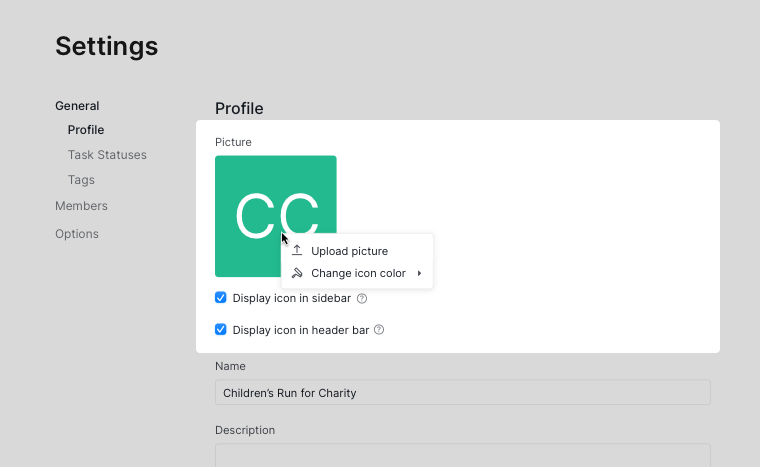
How do I change a project’s profile picture or icon?
-
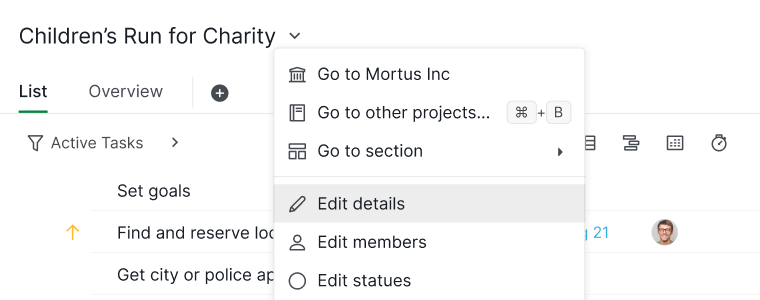
Click the dropdown menu icon next to the project name and select Edit details.
-
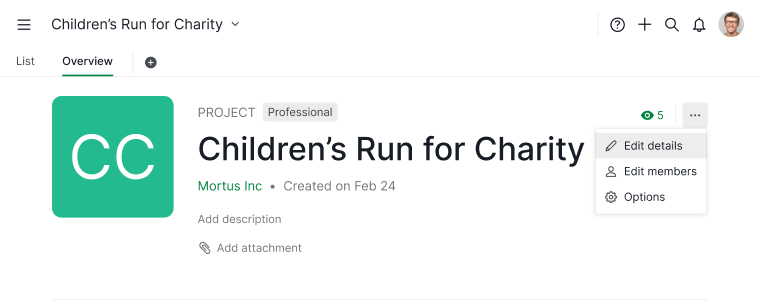
Or go to the Overview tab, click the More Options icon (top-right), and select Edit details.
-
In the project icon section, choose one of the following:
- Upload an image from your computer
- Drag and drop an image into the upload area
- Select a built-in icon and color
How do I edit a project name in Quire?
- Open Edit details using either:
- The project name dropdown menu, or
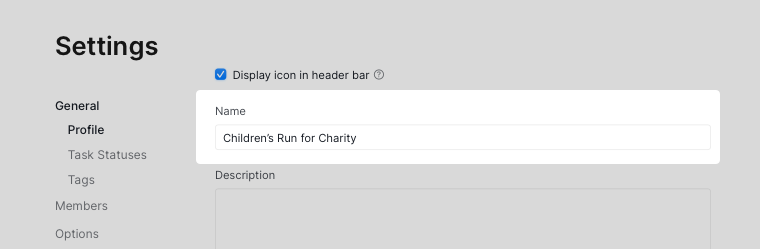
- The More Options menu in the Overview tab
- The project name dropdown menu, or
- Enter the new project name.
- Click Save to apply the changes.
Project Timeline and Scheduling
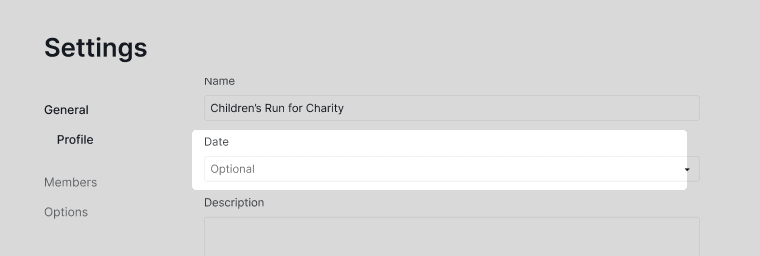
How do I set or change start and due dates for a project?
- Open Edit details using either:
- The project name dropdown menu, or
- The More Options menu in the Overview tab
- The project name dropdown menu, or
- Click the Date dropdown.
- Select a due date for the project.
- Toggle Set start date to add a project start date if needed.
Tip: You can use embed formulas in the project description to perform further calculations based on the dates you have set for your project. For example, to calculate the total duration of your project, you can embed a formula like this in the project description: project.due - project.start.
Project Descriptions and Documentation
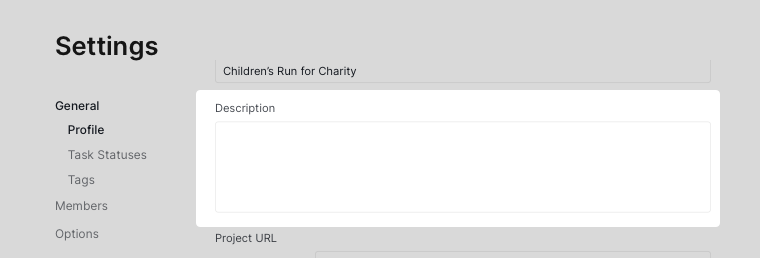
How can I add or edit a project description?
- Open Edit details using either:
- The project name dropdown menu, or
- Directly from the Overview tab, or
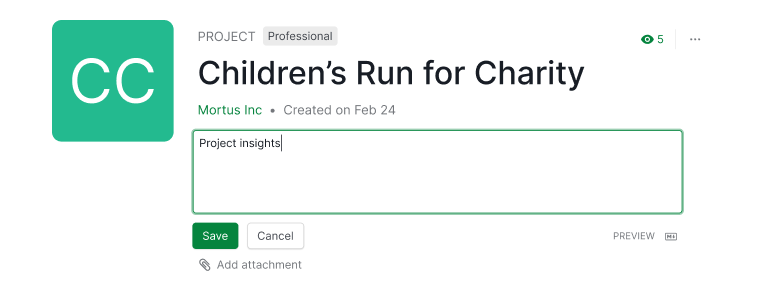
- The More Options menu in the Overview tab
- The project name dropdown menu, or
- Add your content and click Save.
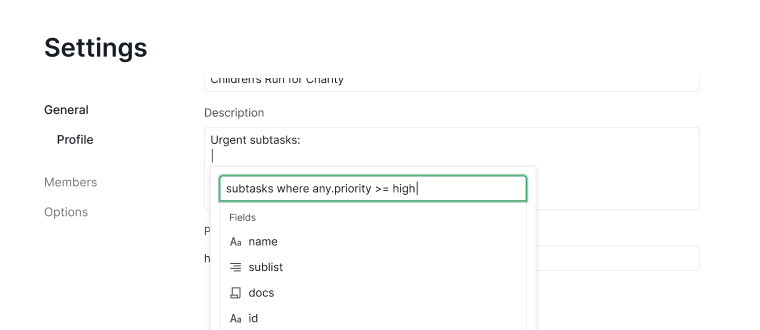
Can I use formulas inside project descriptions?
Yes. Project descriptions support embedded formulas, allowing you to display dynamic values based on project data.
- Click inside the project description.
- Type / to open the command menu.
- Select Formula.
-
Enter a formula, such as:
project.due - project.start
This is useful for lightweight reporting, timelines, and progress calculations.
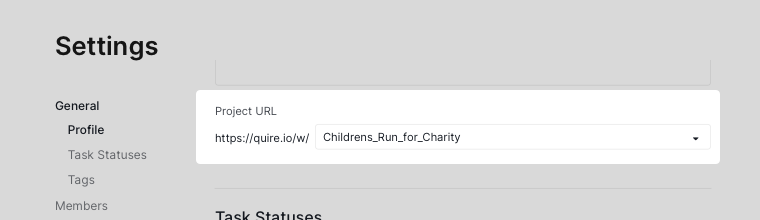
Project URL and Advanced Settings
Changing the project URL is only available in Professional, Premium, Enterprise plan. More information can be found at our pricing page.
- Open Edit details using either:
- The project name dropdown menu, or
- The More Options menu in the Overview tab
- The project name dropdown menu, or
- Enter a new custom project URL.
- Click Save to apply the change.
The old URL will automatically redirect to the new one, so existing links continue to work for all project members.