Approval Workflow in Quire Permalink
An approval workflow adds a formal review step before a task is considered done. Instead of marking work complete on their own, team members submit it for sign-off from a supervisor or stakeholder, which keeps decisions documented and reduces the chance of work being missed or misaligned. In Quire, the Approval feature lets you send tasks for review and track their approval status directly in the task list.
The Approval feature is only available in Premium and Enterprise plan. More information can be found at our pricing page.
Send Approval Requests
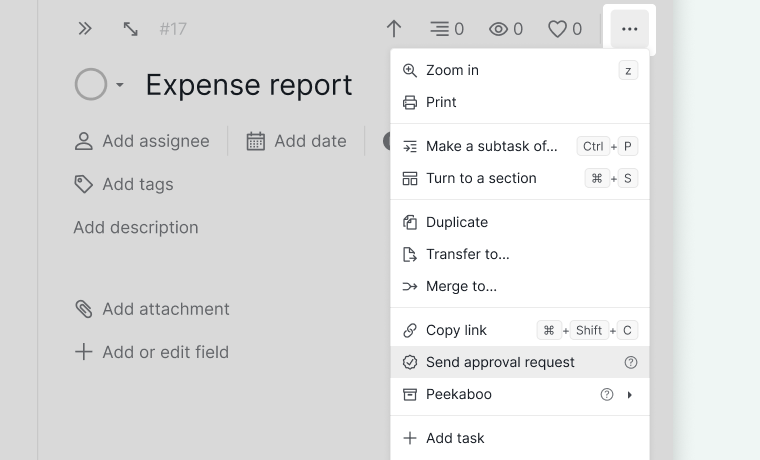
- Open the task detail panel.
- Click the More Options icon in the upper-right corner.
-
Select Send approval request.

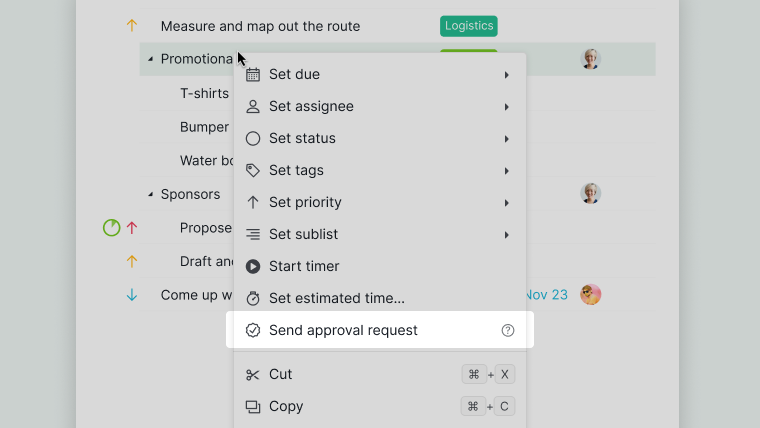
You can also request approval using the context menu:
- Right-click the task.
-
Select Send approval request.

Note: If you don’t see the “Send approval request” option, check your approval permissions with a project admin.
After Sending a Request
What you see after sending an approval request depends on your permissions:
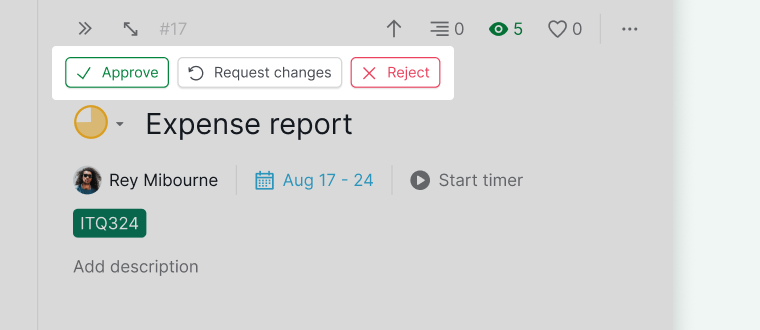
- If you can approve tasks, three action buttons will appear:
- Approve
- Request changes
- Reject
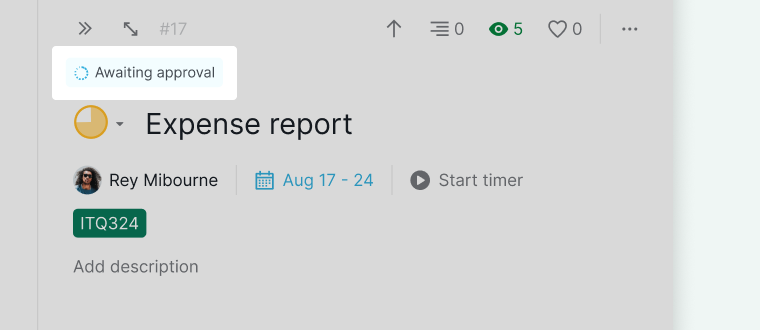
-
If you cannot approve tasks, an Awaiting approval badge will appear to confirm the request was sent.

Approve Tasks
Approve, Request Changes, or Reject
When you receive an approval request, you can choose one of the following actions:
- Approve – Marks the task as approved.
- Request changes – Ask for updates and leave a comment explaining what needs to be changed.
-
Reject – Decline the request and provide feedback.
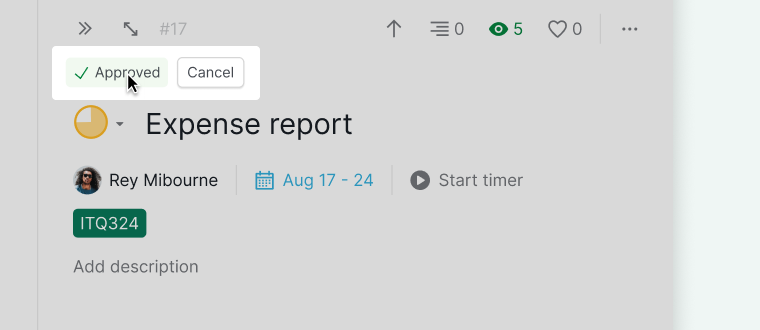
Approved
- An Approved badge appears in the task detail panel.
-
Hover over the badge to reveal the Cancel button if you need to undo the approval.

Request Changes
-
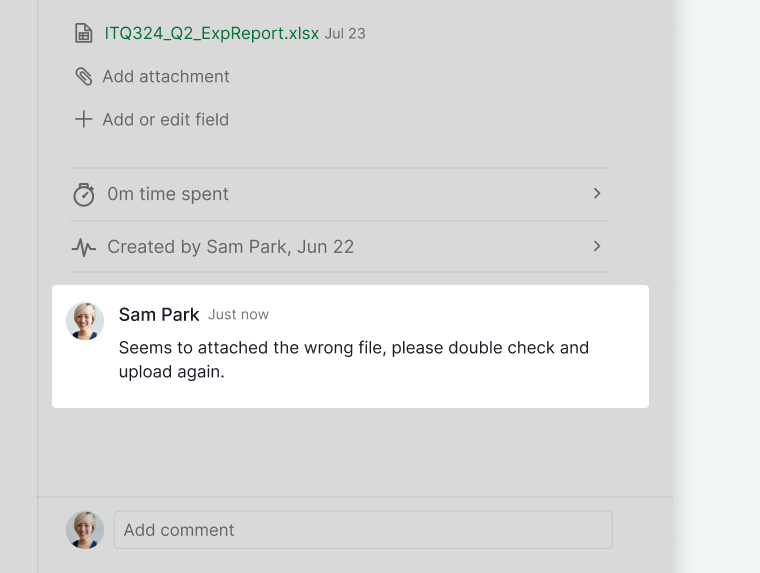
A comment dialog opens so you can explain what needs to be updated.
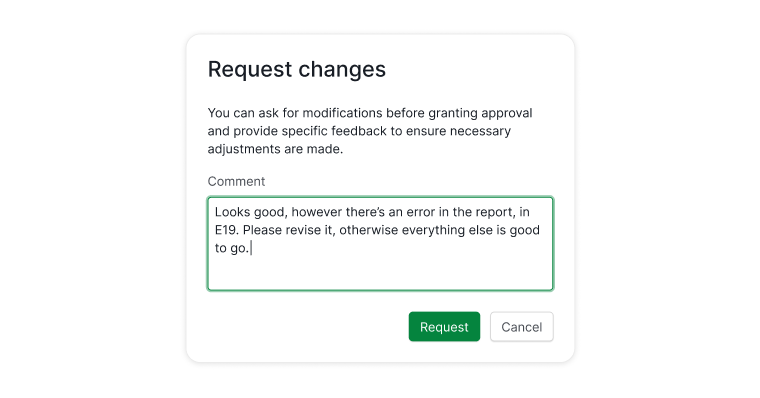
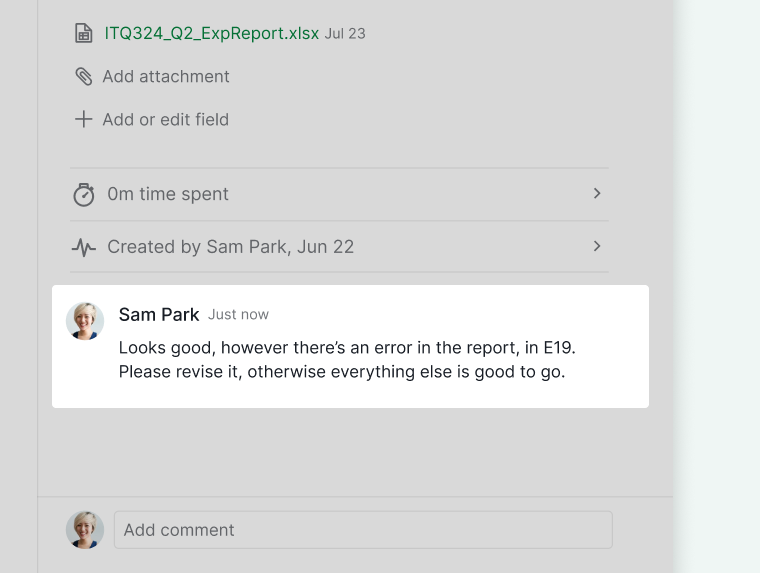
-
Your comment appears in the task’s detail panel.
-
A Request changes badge is added to the task.
-
Hover over the badge to cancel the request if needed.


Rejected
-
You can leave a comment explaining why the task was rejected.
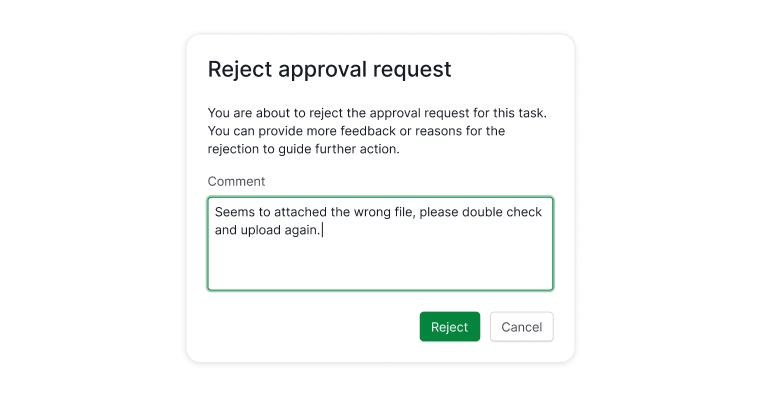
-
Your comment appears in the task’s detail panel.
-
A Rejected badge appears in the task detail panel.
-
Hover over the badge to cancel the rejection if necessary.


Identify Tasks with Approval Requests
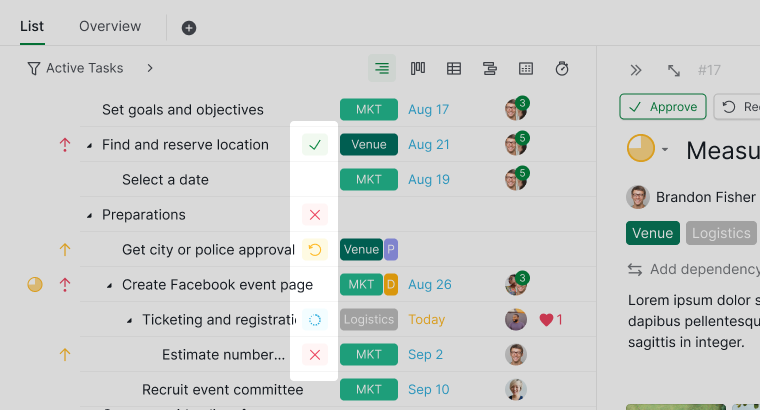
In the Tree view, tasks with approval activity are marked with visual indicators:
- Dotted circle – Approval requested
- Green check mark – Approved
- Yellow circular arrow – Changes requested
-
Red cross – Rejected

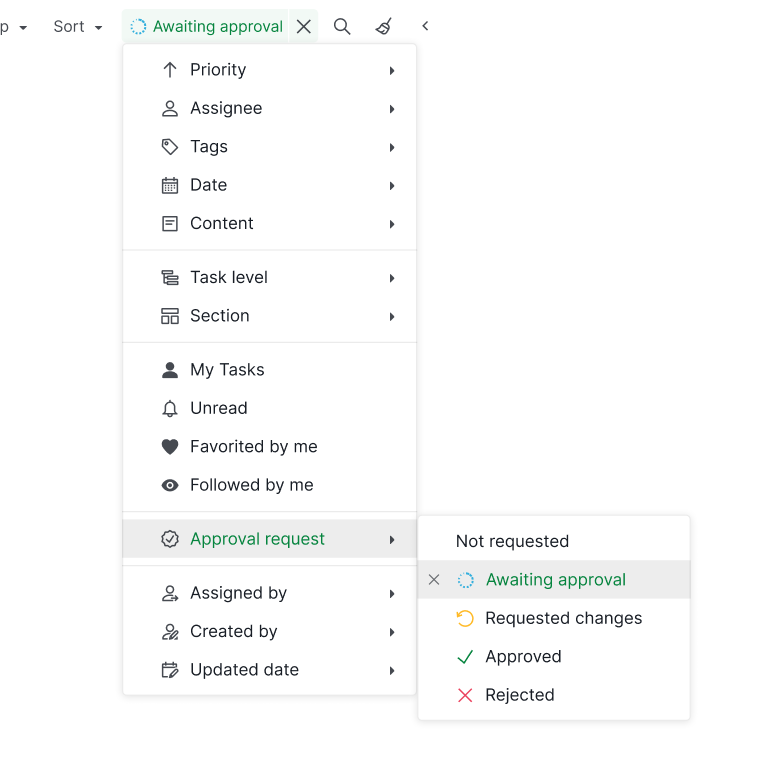
You can also use the filter bar to show tasks that:
- Require approval
- Have requested changes
- Are approved
-
Are rejected

Block Completion on Pending Approval
When this setting is on, a task cannot be marked complete if it or any of its subtasks has an unresolved approval request.
To enable this setting:
- Click the dropdown menu next to the project name and select Options.
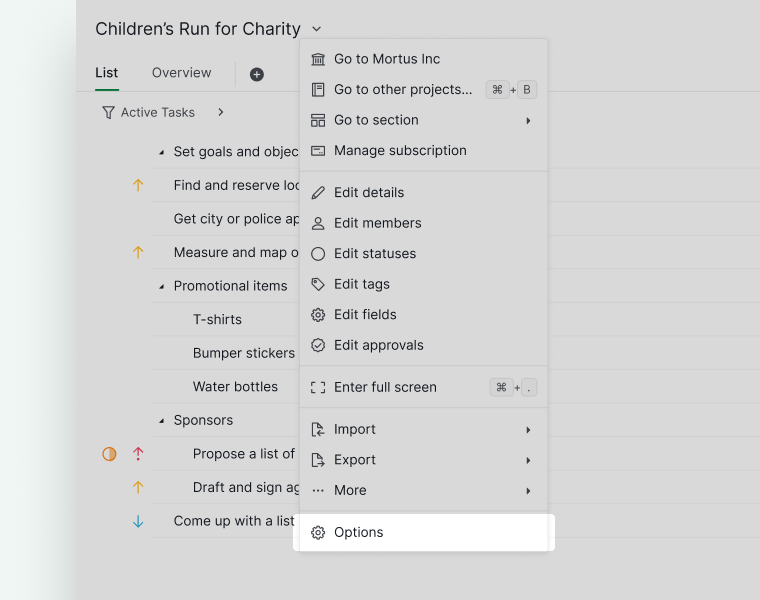
- Under Feature Settings, turn on Block task completion if the task or any subtask has a pending approval.
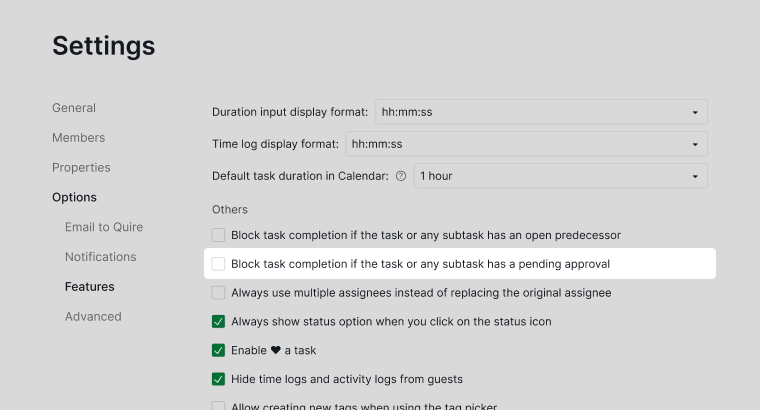


Note: Only project admins can change this setting.
Manage Approval Permissions
Edit Permissions
Approval permissions control who can request approval and who can approve tasks.
Note: Only project admins can manage approval categories and member permissions.
To edit permissions:
- Click the dropdown menu next to the project name.
- Select Edit approvals.
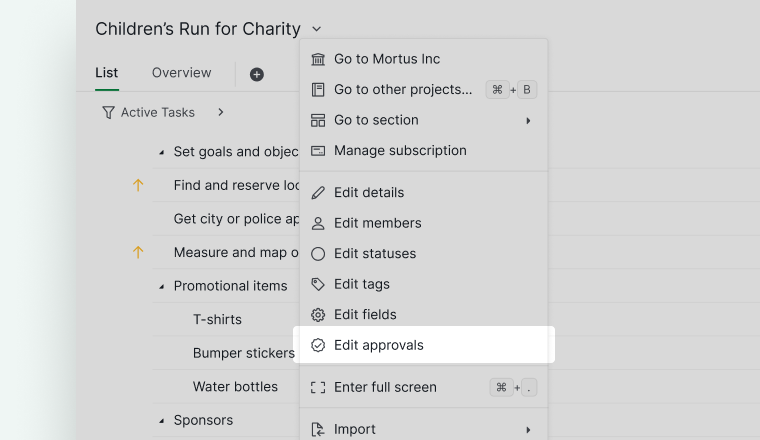
- Hover over an approval category and click the pen icon.


You can assign permissions as:
- Any members
- Admins only
-
Selected members
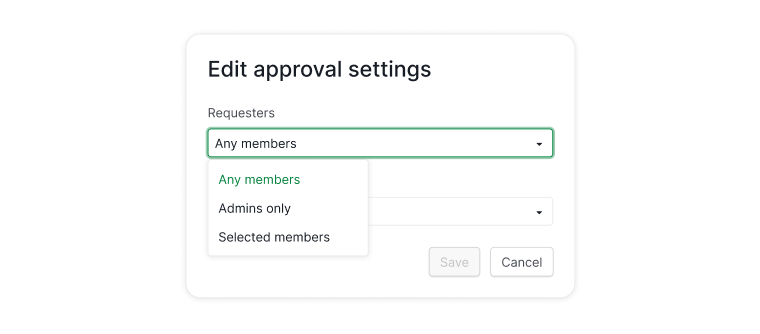

Note: Choosing Any members includes all project members, including external team members.
Create Different Approval Categories
Creating multiple approval categories is available only on the Enterprise plan. More information can be found at our pricing page.
Approval categories let you define different approval workflows, for example one for design reviews and another for final campaign approval.
Note: Only project admins can create or edit approval categories.
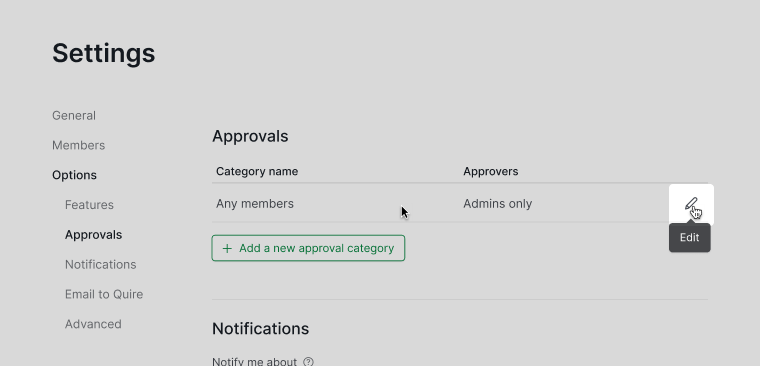
To add a new approval category:
- Click the dropdown menu next to the project name.
- Select Edit approvals.
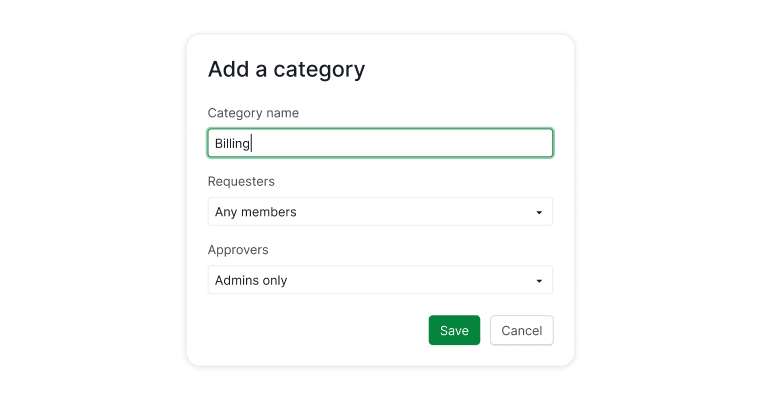
- Click Add a new approval category.
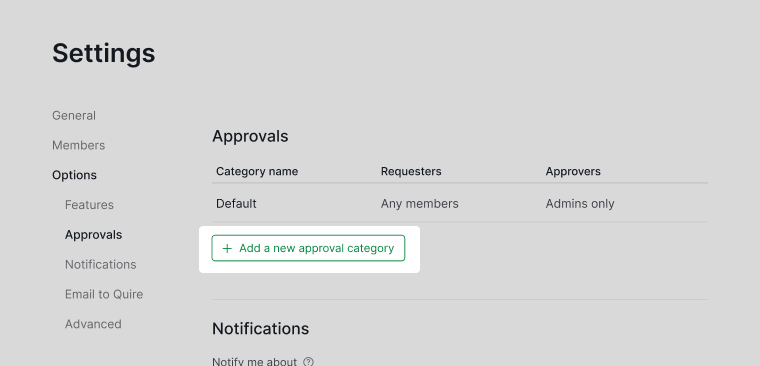
- Name the category and assign who can request and approve.


Tip: Professional plan users can use the Approval Status Stream as an alternative.
Read more on our blog about the Approval feature.
Frequently Asked Questions
What is an approval workflow in project management?
An approval workflow is a formal review process where work must be signed off by a designated person before it is considered complete. Teams use it to maintain quality standards, document accountability, and create an audit trail of who approved what and when. In Quire, approvers can approve, request changes, or reject a task with a comment directly from the task detail panel.
How do I manage who can approve tasks in Quire?
Project dropdown > Edit approvals, hover over a category, and click the pen icon. Set to Any members, Admins only, or Selected members. Only project admins can change these settings.
What happens after I send an approval request in Quire?
If you can approve, three buttons appear: Approve, Request changes, and Reject. If you cannot approve, an Awaiting approval badge confirms the request was sent.
How do I approve, request changes, or reject a task in Quire?
The three action buttons appear in the detail panel when a request is pending. Approving adds an Approved badge. Request changes and Reject open a comment dialog for feedback.
Can I undo an approval or rejection in Quire?
Yes. Hover over the Approved, Request changes, or Rejected badge in the detail panel to reveal a Cancel button.
Can I filter by approval status in Quire?
Yes. Use the filter bar to show tasks that require approval, have requested changes, are approved, or are rejected. In Tree view, tasks also show visual icons for each approval state.
How do I create multiple approval categories in Quire?
Project dropdown > Edit approvals > Add a new approval category. Available on Enterprise plan only. Only project admins can create categories.
Can I prevent a task from being completed while it has a pending approval in Quire?
Yes. Enable Block task completion if the task or any subtask has a pending approval in project settings. When on, a task cannot be marked complete until its approval is resolved. This applies to the task and all its subtasks.